

Yay! Snapchat has finally added click ID-based tracking!
And its very easy to implement -- just use our Snapchat traffic source template and the custom scenario configuration under conversion tracking.
Before you begin, please note these very important considerations:
- Snapchat's click IDs are only available in "web view" campaigns
Step 1: Setup a pixel
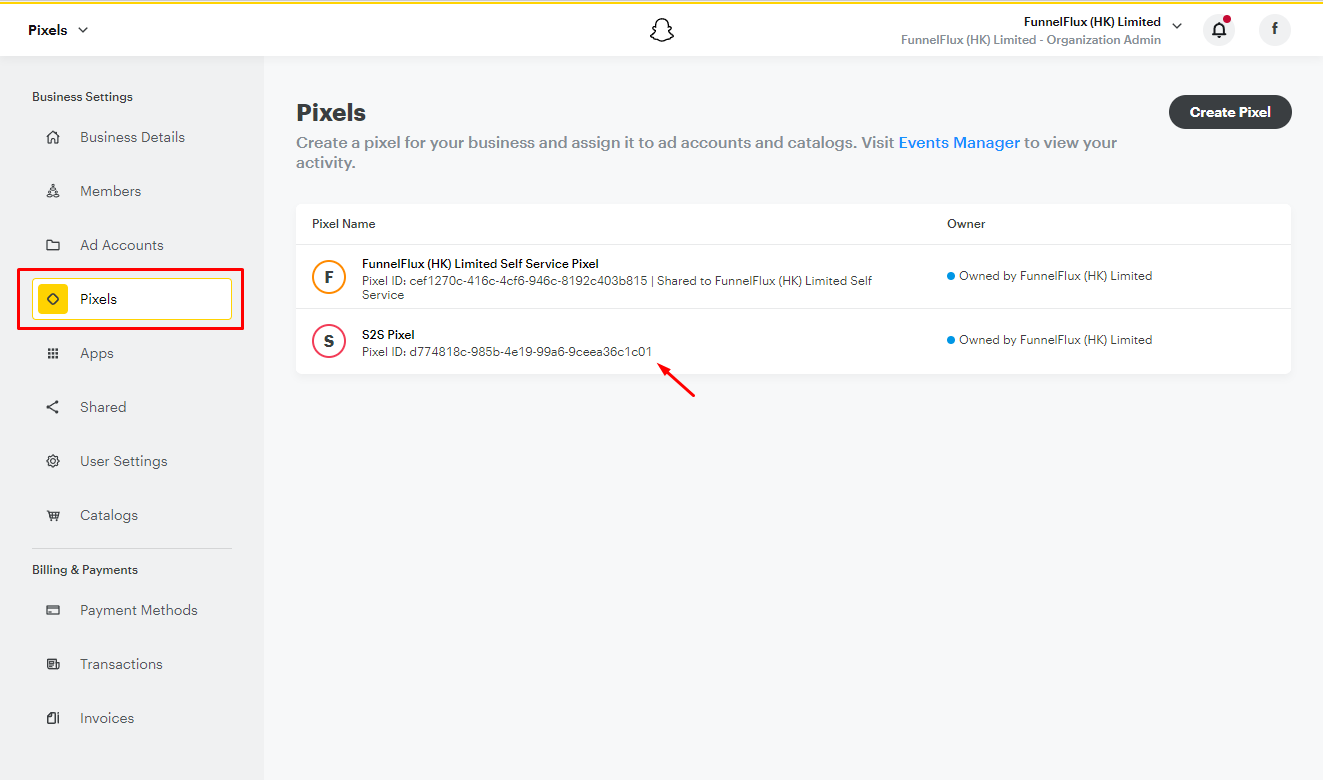
You will need a pixel over in Snapchat (obviously). If you haven't created one, do so now.
From here you will get the pixel's ID:
Or you can click the pixel in the table and get the ID from its details page:
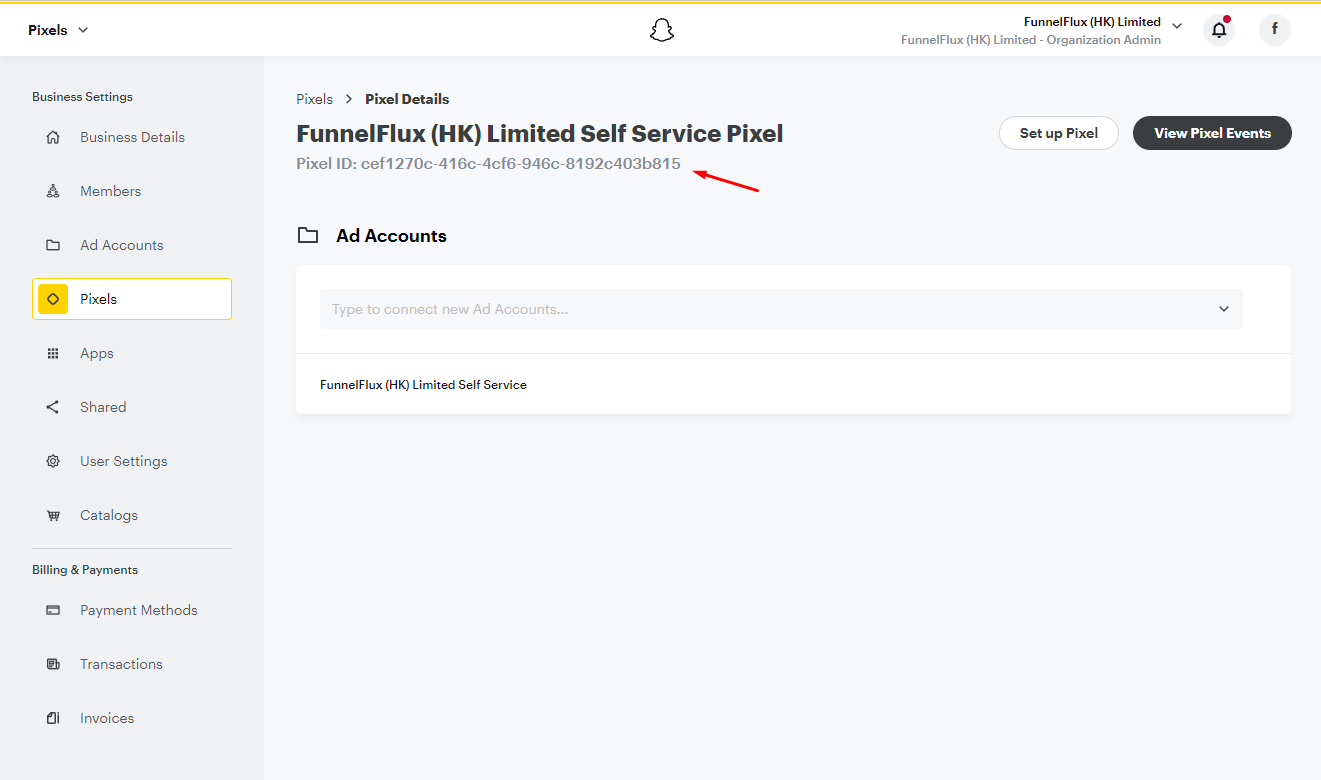
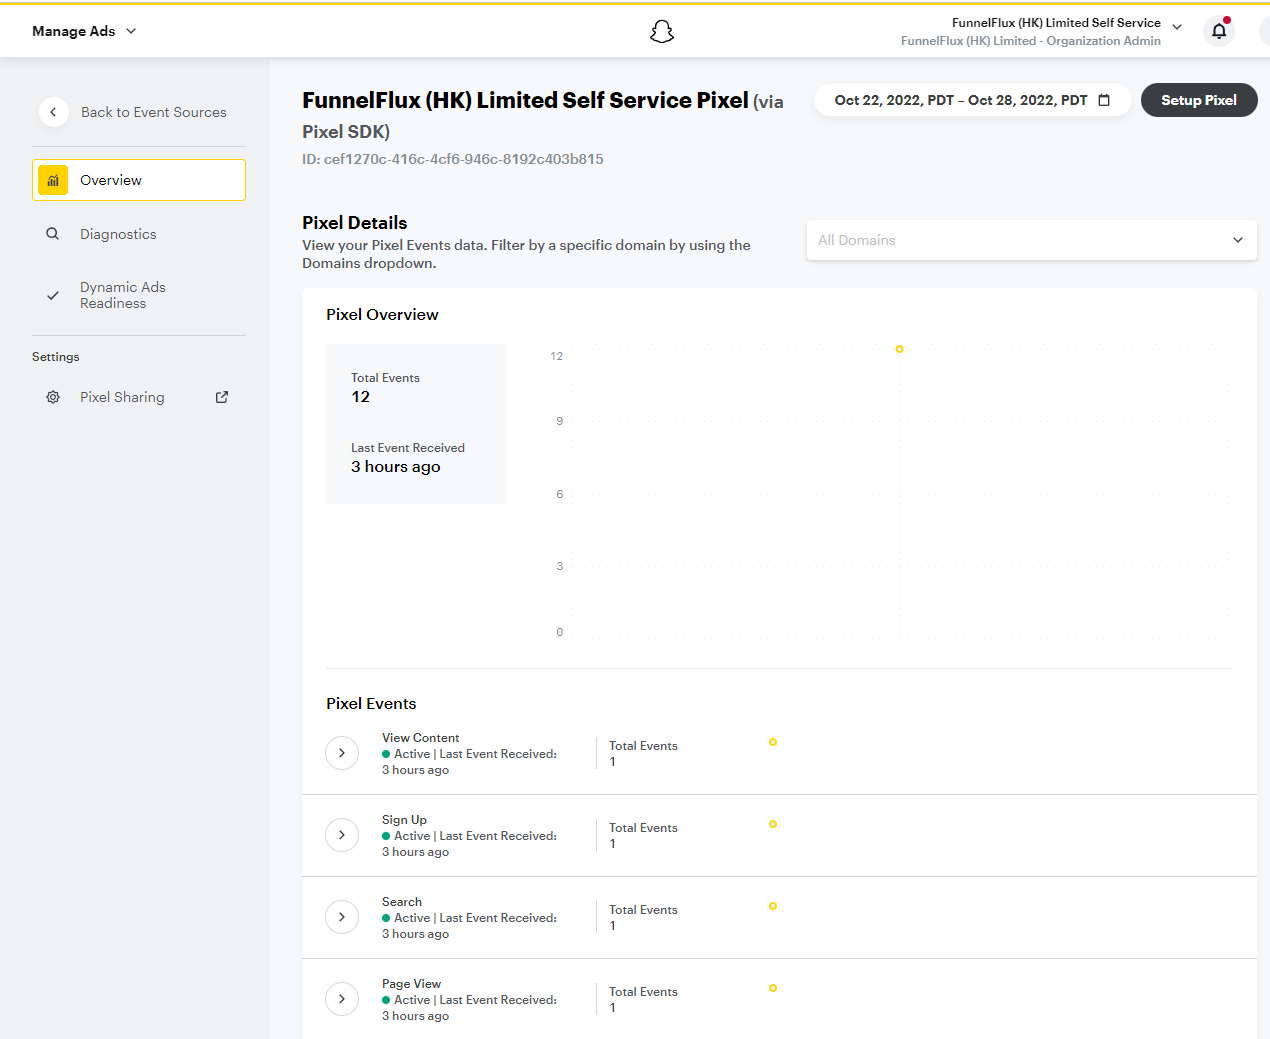
From here, you can also click "View Pixel Events" to access event the event manager, which is also accessible via the menu:

From this page you will be able to select a pixel and view its event data, which is useful for checking if the integration is working. Note that the data can be delayed by an hour.
If you create a new pixel and you would like to "prime" it and trigger activity manually, then you can use our pixel primer page:
https://test-resources.funnelflux.pro/snapchat/pixel-test.html?pixel=XXX
Just replace XXX with your pixel ID, then click buttons to fire standard events. Sometimes this priming can be useful to make pixels appear active, allow for event types to be selected in menus, etc.
Step 2 - Get an access token
In Snapchat, go to business details.
From here, you can now generate long-lived access tokens for use with the conversions API.
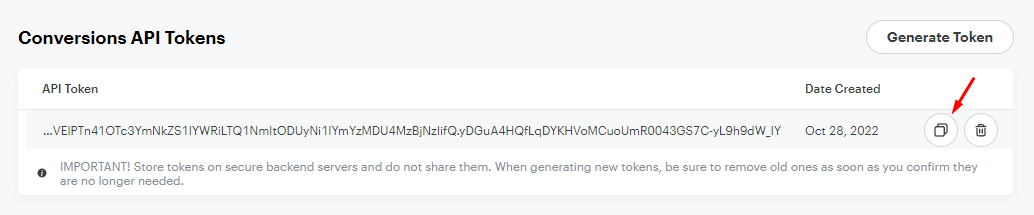
You can copy this access token for the next step.
Step 3: Set up conversion tracking in FunnelFlux
Now that those are sorted, in FunnelFlux, add a new traffic source and select our Snapchat template.
If you already have a Snapchat source added, we suggest adding a new one, so that it can properly use the new template settings.
You can always compare it to your existing Snapchat source later and add/modify settings to make it match.
If you are updating an existing source, in the tracking fields section, this part is most important:

Here you should unlock the external field, rename it to ScCid, then lock it again.
In the conversion tracking section, use our custom scenario:
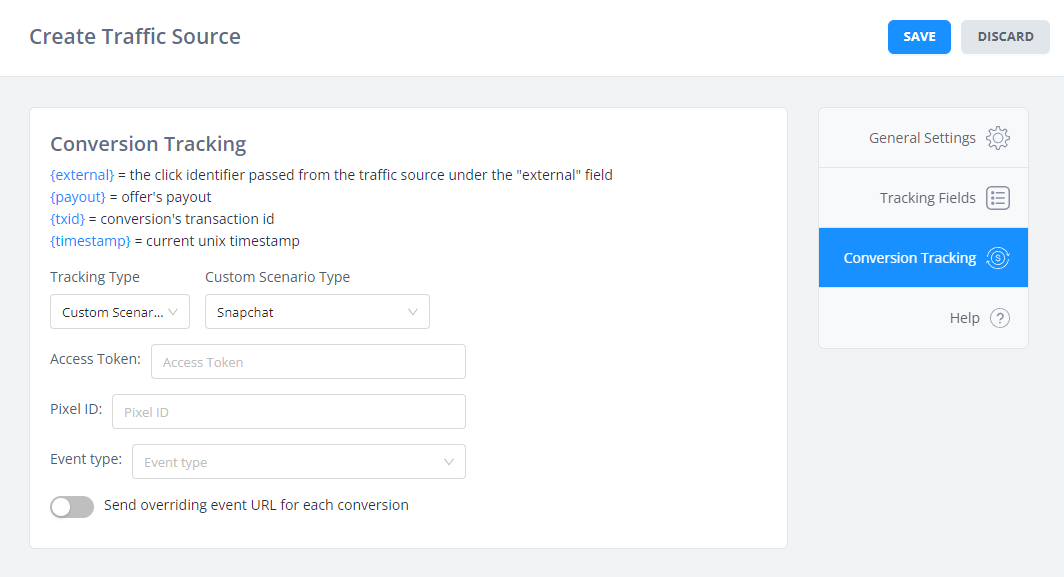
Take the access token and pixel ID from your Snapchat account.
For event type, pick one of the standard events in the list.
And that's it!
Now when conversions get sent to FunnelFlux, via postback or JS, they will send events via API to Snapchat.