

Ready, set, go! Let's add initial resources to your account.
By resources I mean:
A traffic source
An offer source (optional)
A lander
An offer
Not all of these are critical to your first funnel, but let's go through all of them all.
If you have just created an account, you should have some test resources that we added -- an onboarding funnel and test landers/offers.
Let's accelerate things by using those in building a quick test funnel. After all, that's what they are there for. We'll cover using your own landing pages and offer sources/networks later.
Add a traffic source
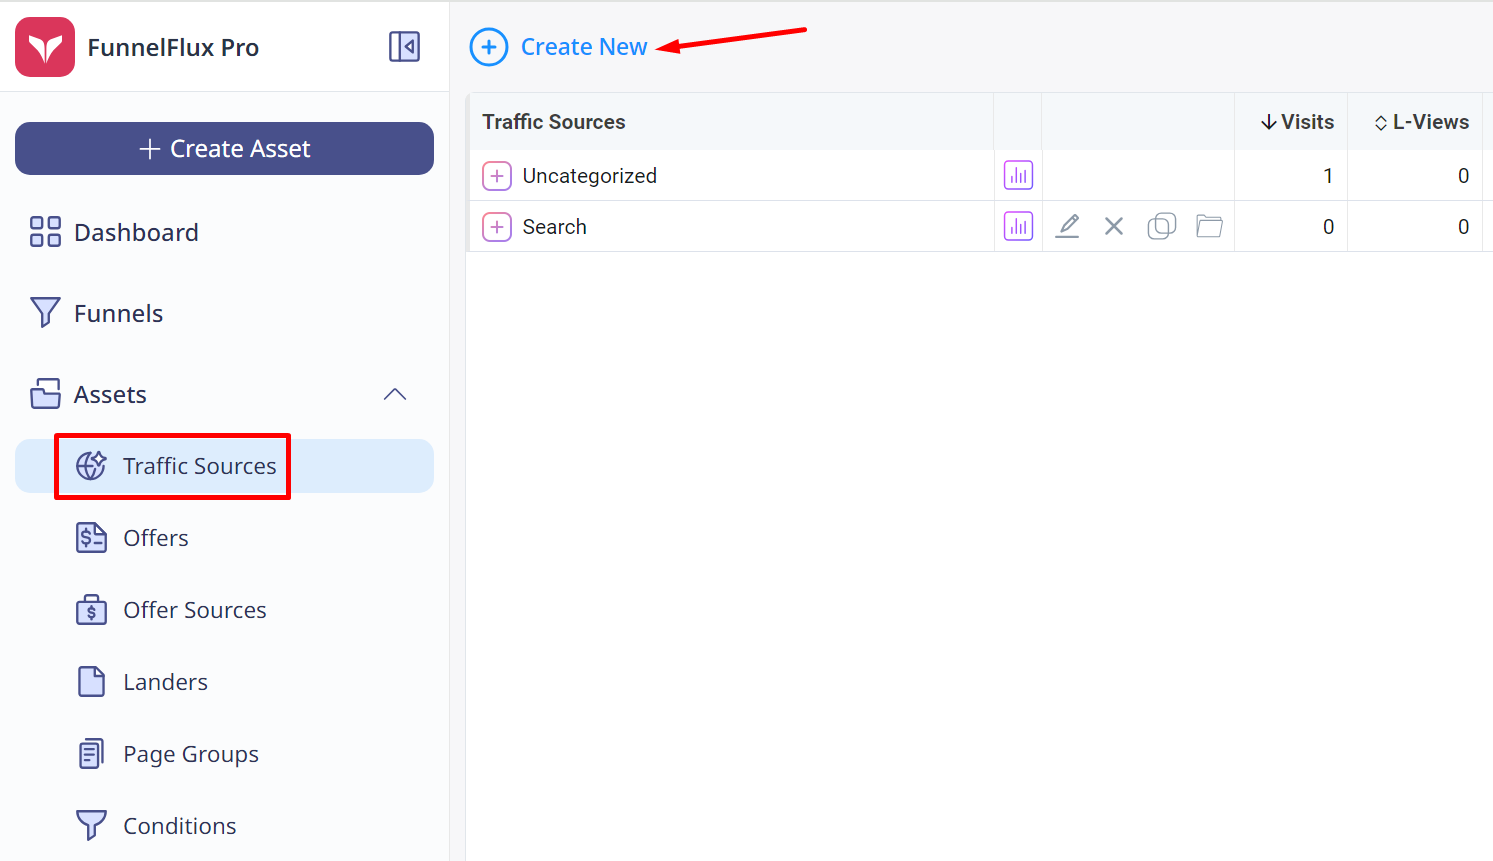
Navigate to Pages and Sources > Traffic Sources. Click the (+) New button:
From here, you can filter to pick from one of our templates, or click create a custom source:
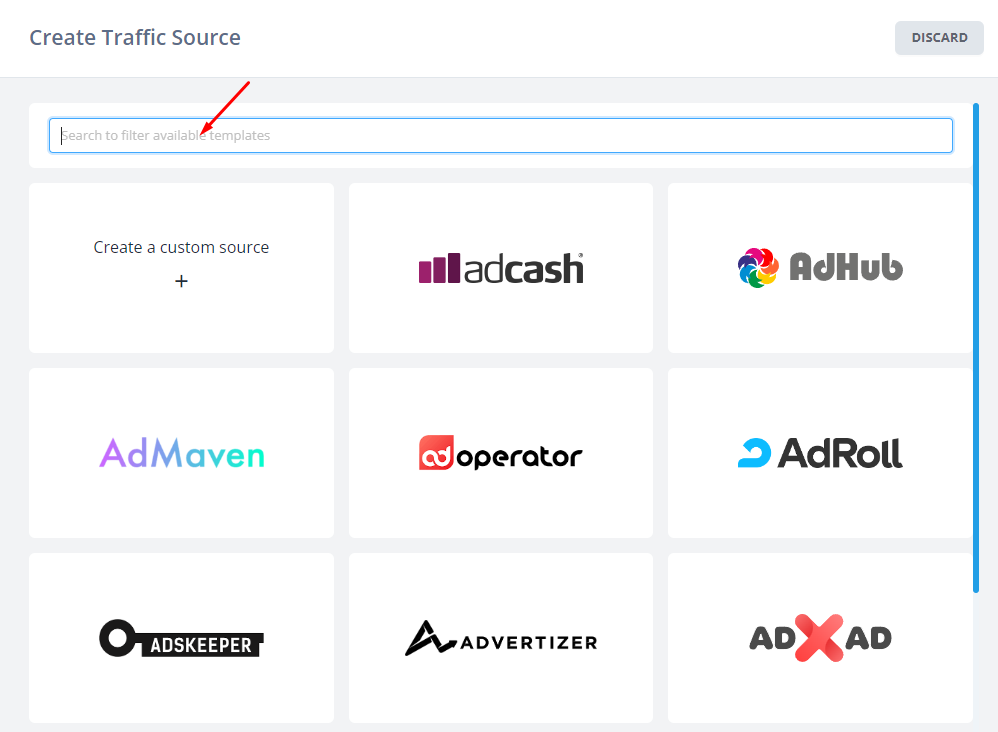
Clicking a traffic source tile will load that template.
You can then rename the source however you like (you can make multiple traffic sources for the same one, e.g. Facebook (Account 1), Facebook (Account 2), etc.
You can also put the source in a specific category though this isn't required.
You should leave cost per entry blank unless our template filled it, or you know a cost per click token that the traffic source can append (few sources have this).
For now, let's pick the PropellerAds template as an example. You should see:
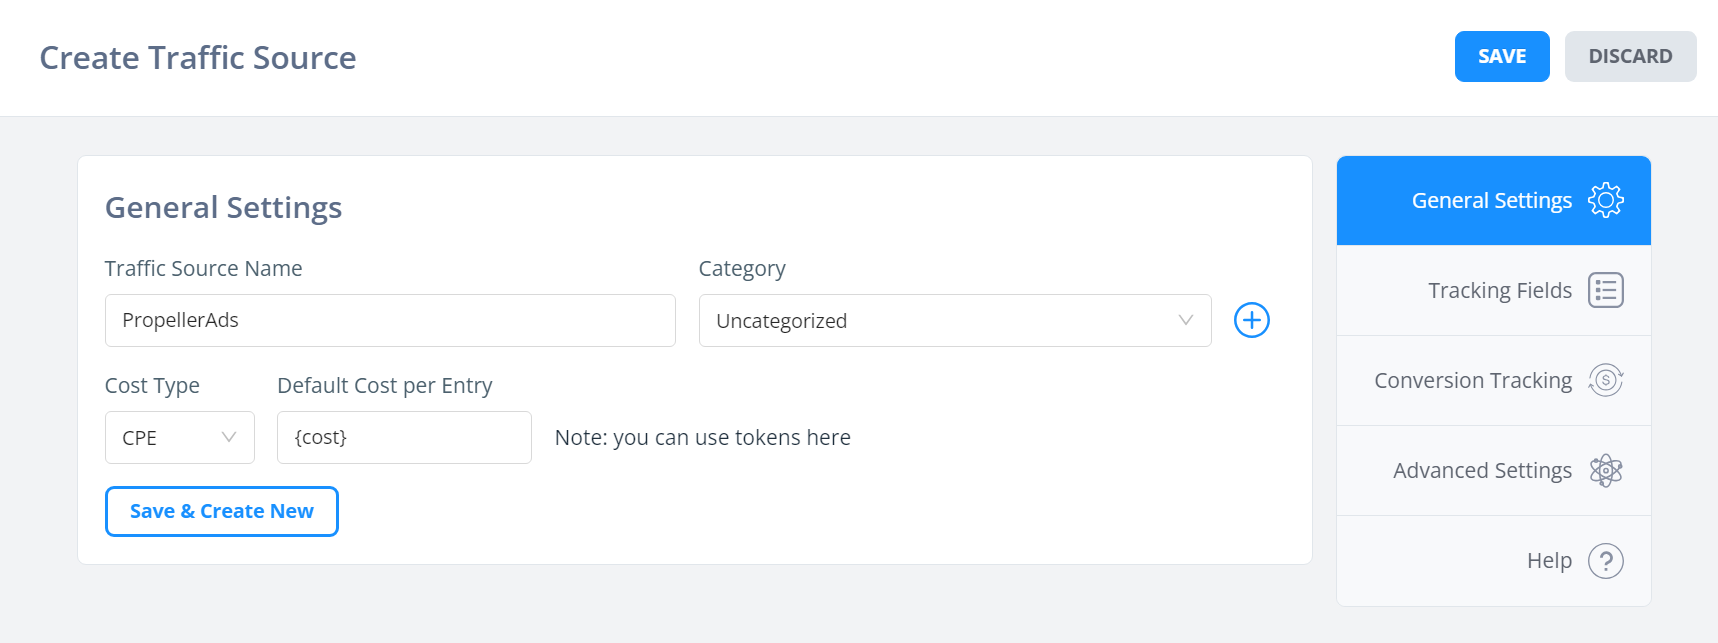
Here you can see how PropellerAds is able to pass cost dynamically, and we have it's {cost} token set in the cost per entry field.
Most traffic sources cannot pass real-time cost like this, but it's common for popup/push sources.
Let's move on to the trakcking fields section. You will see we have already populated some info:
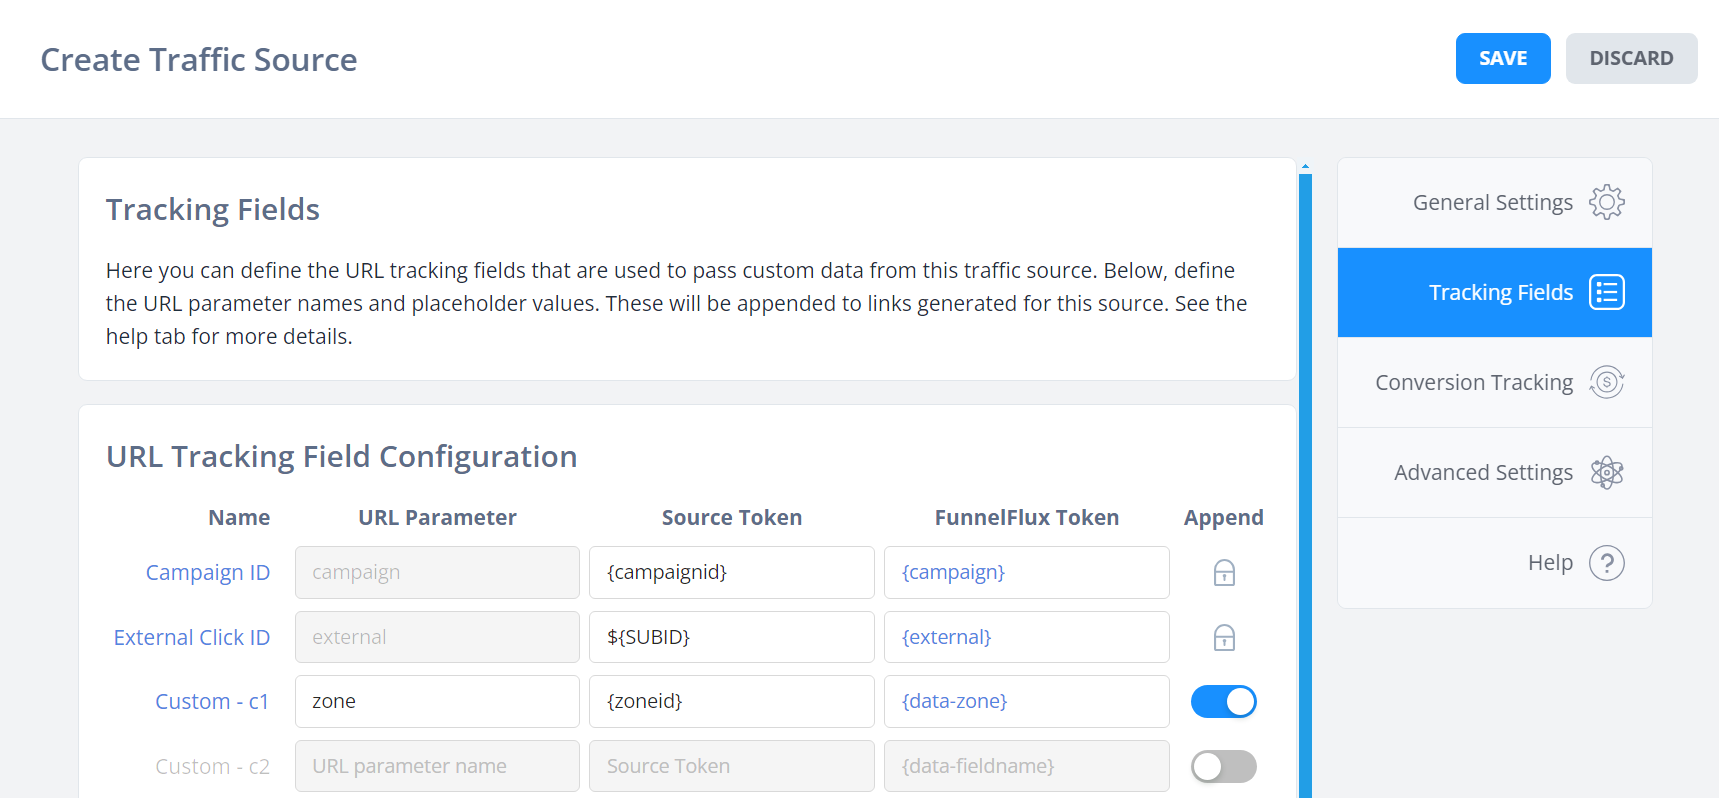
These tracking fields define the URL parameters that will be in your tracking links, which are used to capture information from the traffic source.
You'll want to pass dynamic information the traffic source knows, like campaign IDs, click IDs, ad IDs etc. But you don't need to generally pass things like country, region, device type etc. as FunnelFlux will always detect these internally.
There's 20 total fields available, but don't feel like you need to fill these. Don't bother adding information here that you're not going to use in reporting for analysis/optimisation.
Moving to the conversion tracking tab...
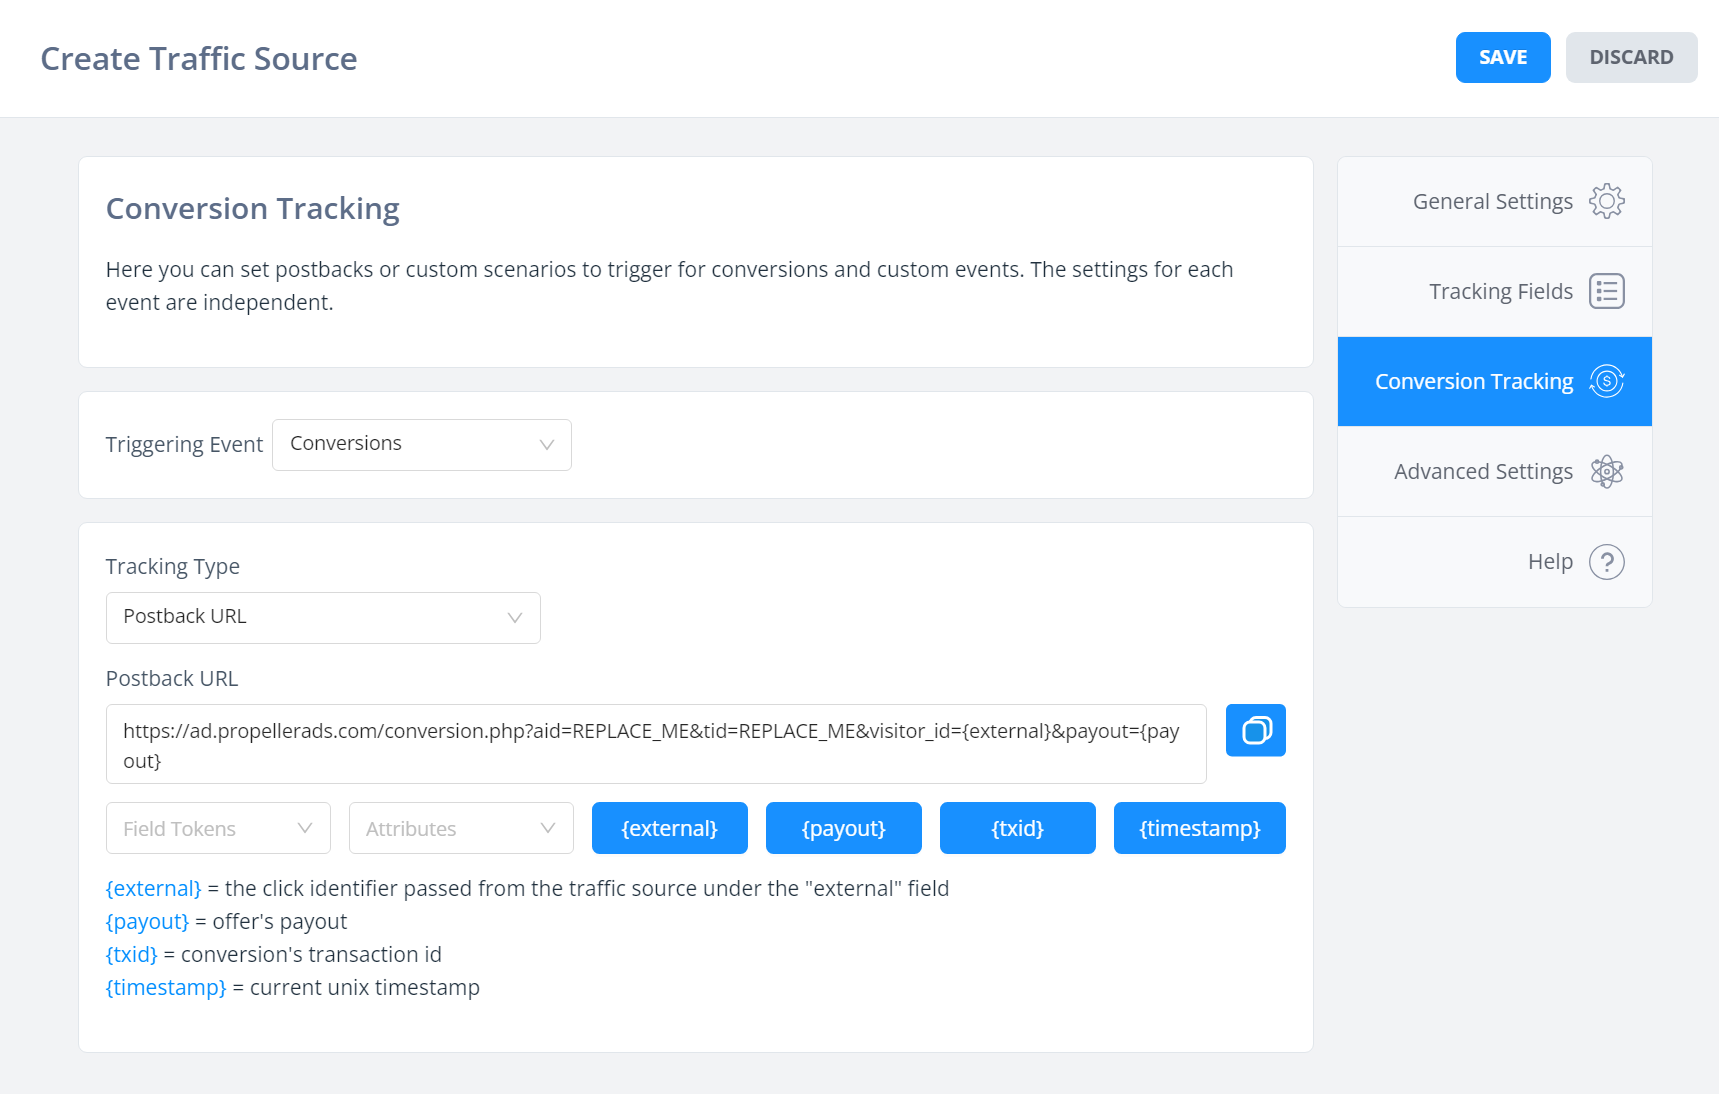
Here you can see we already have a default postback to the traffic source. In the case of PropellerAds, there is an aid and tid value that is unique to your account -- this must be replaced by you.
You can go to PropellerAds and the postbacks section to find these. Simply copy a URL example they give and find the aid/tid values to put here, replacing the REPLACE_ME parts.
Notice how we have "Conversions" selected as the triggering event.
You can also set different outgoing postbacks for custom events here -- this may be useful if you use sources like Meta, TikTok, Google etc. where you can take advantage of our integrations to send different event types.
For now, let's leave it at that - you can come back and play more with traffic sources and resource config later (as well as check out our more specific help articles for these).
Adding a lander
Landers and offers are just "pages" within FunnelFlux.
There is one key difference: offers can be attached to an offer source, which provides templating of the way you pass data (since an offer URL often points to some third-party system).
Landers are typically pages you host and control, whereas offers may come from some third party (e.g. an affiliate network).
You can use our onboarding test landers for now, we will go through the basics of lander configuration later.
Adding an offer
Offers are just like landers, except you would typically use these for pages where sales/conversions happen, or for third-party pages like those from an affiliate network.
Much like before, we can just use the onboarding test pages we have added for you, and we'll deal with the details of offer configuration in a later section of the getting started area.
For now, let's move on to creating your first funnel.