

Before starting this, you need to make sure you have set up a custom domain -- without a working custom domain in FunnelFlux, you cannot generate links or use JavaScript.
If you have not done so already, see our help article here and add your domain under Settings > Domains.
Creating a basic funnel
Since we have some basic resources set up, lets create a funnel!
Head to the Funnels page and click (+) New > Visual Funnel.
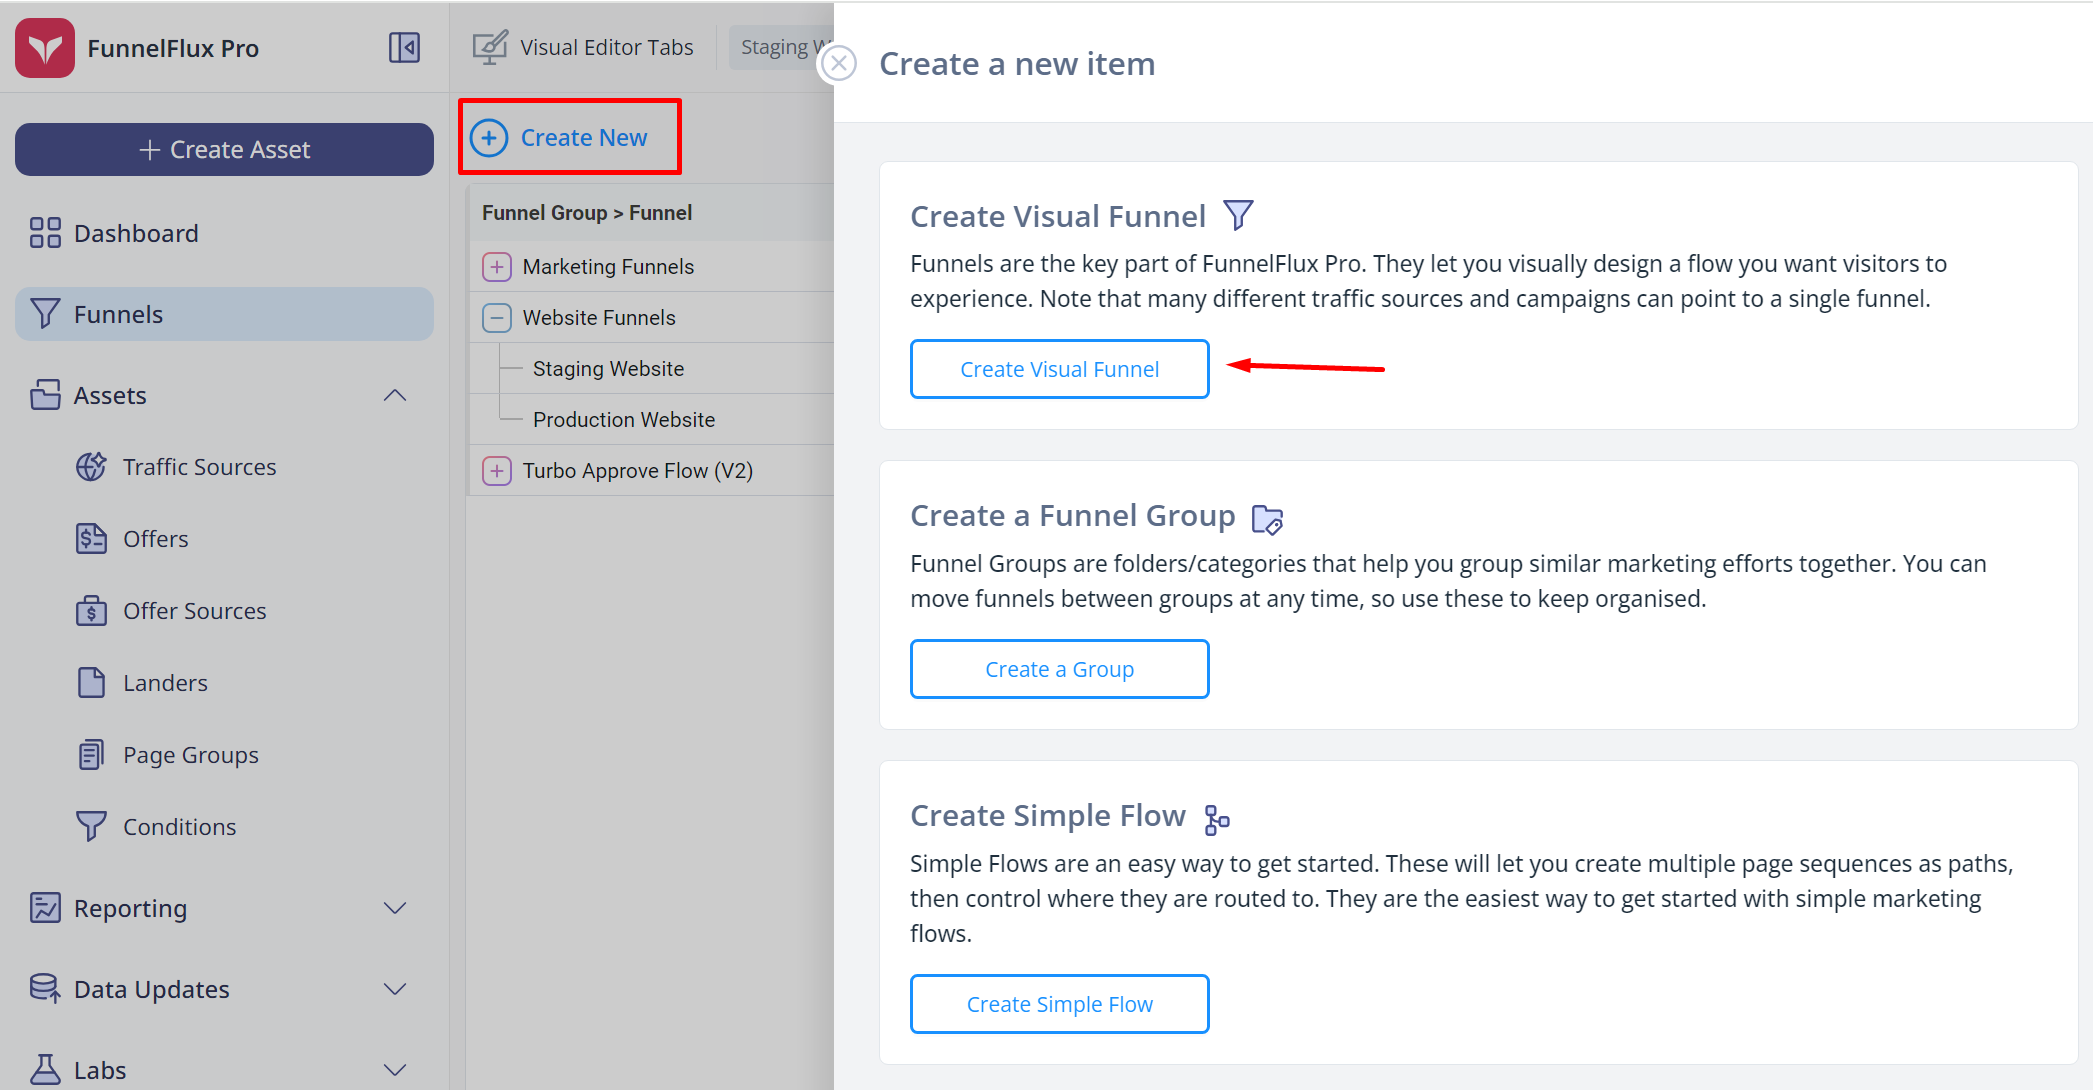
Funnels always belong to a funnel group, which is just a category. You can pick "Onboarding Funnels" for now as the group. If not available, pick any other group, or make a new one.
Click Save and Open Editor to open the funnel in the editor.

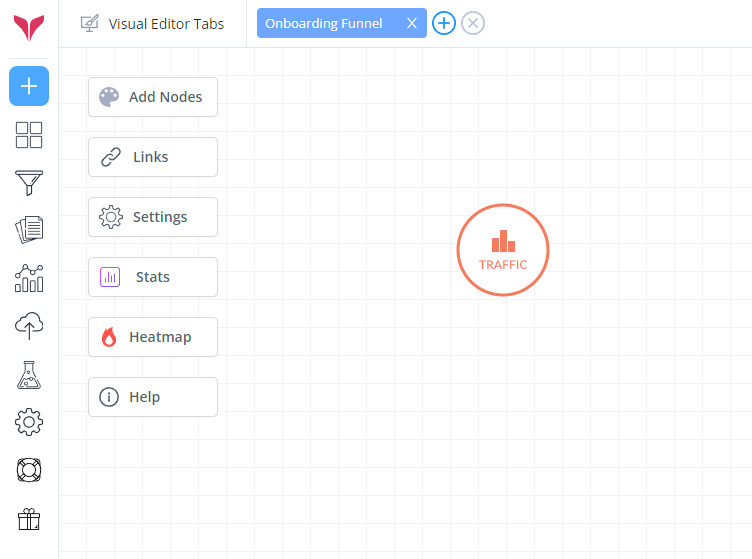
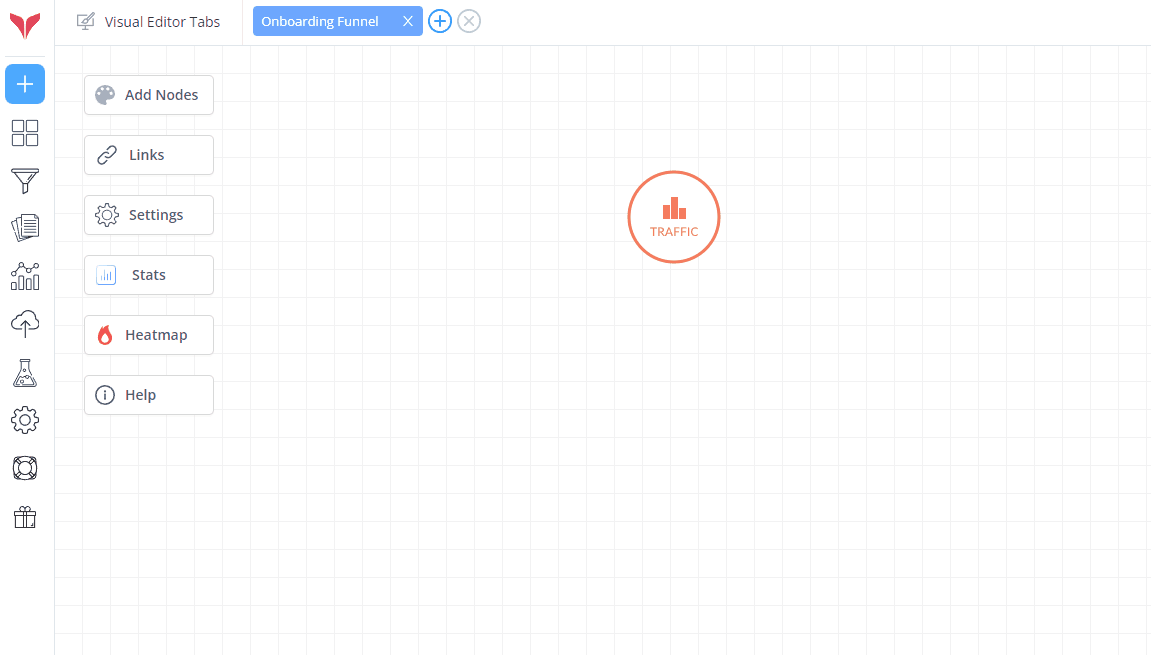
Welcome to our visual builder 😃
Now, at this point I would recommend watching our video guide at the start of the article -- some of these things are just easier to explain in a video.
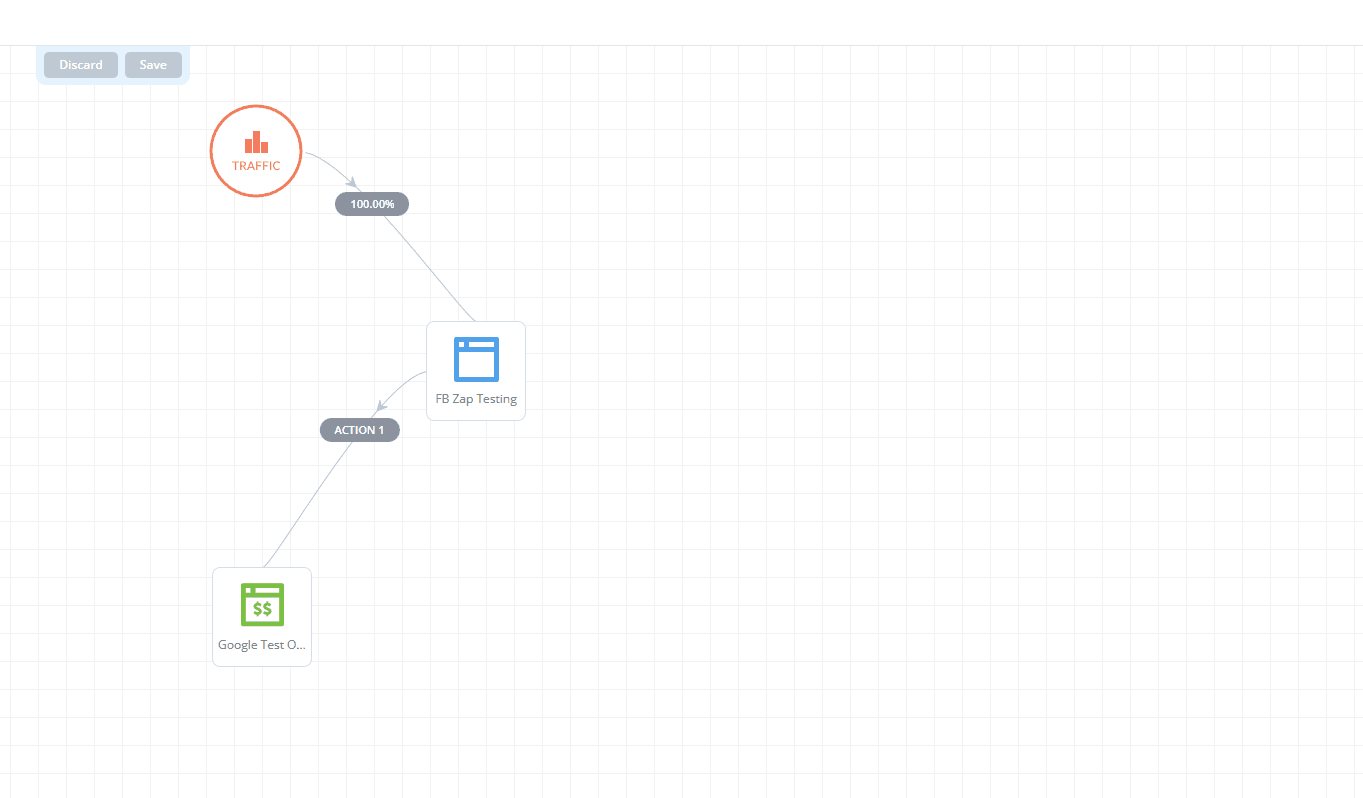
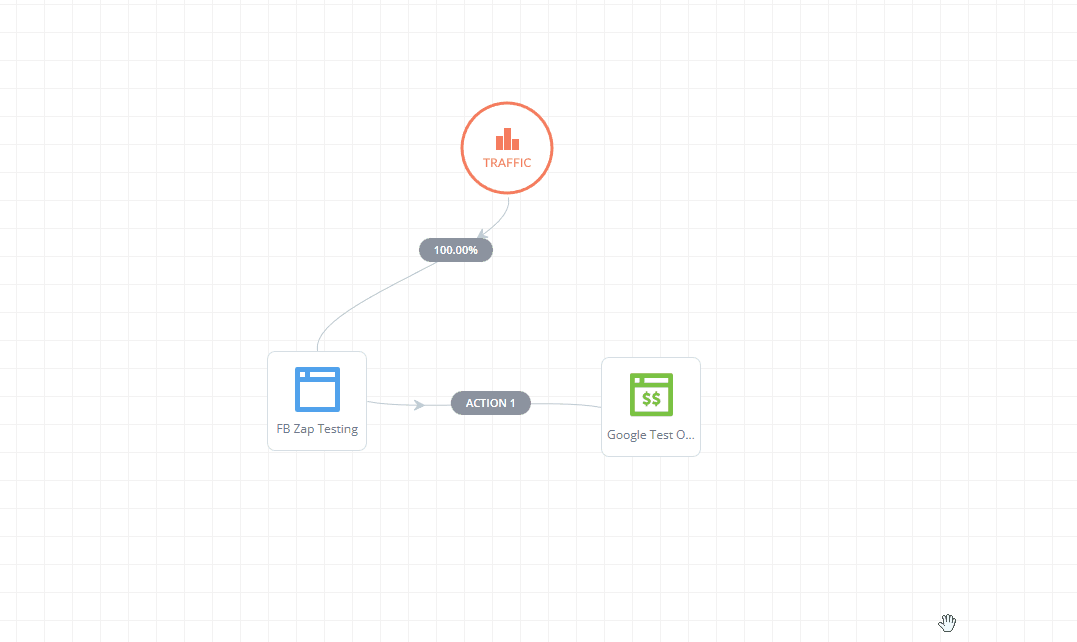
Here you will start with a traffic node. This is a default that can't be removed, and it functions like a rotator to split traffic.
On the left-hand side are buttons that let you do a few things:
Add Nodes - opens the node palette, which lets you drag & drop nodes as well as search through your existing pages to add them
Links - opens the funnel settings tab, where you can generate tracking links for any node in the funnel
Settings - opens the settings tab as well
Stats - this opens a quick stats overlay, which we have throughout the app (the little graph icon you see in tables). These let you break down your data quickly.
Heatmap - later, you can use this to visualise data in the funnel builder directly
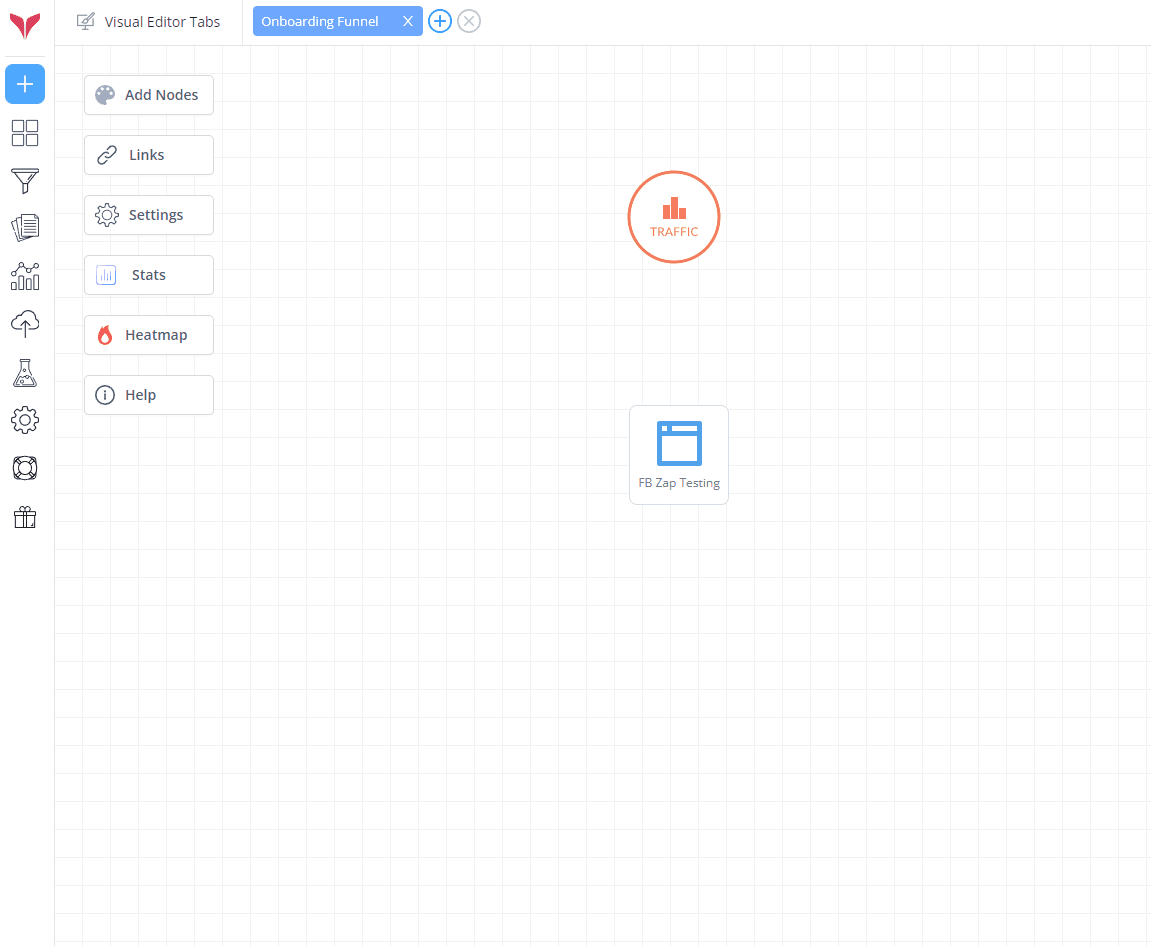
Let's add our test landers and offers to the canvas.
Click Add Nodes to open the node palette,
From here you can create a local node (the list at the top), or click lander/offer/condition and browse through a list of existing assets in your account.
You can drag and drop from the list. You can type to search for items as well. In the animation below you can see I am searching for "test".
Now that we have added the nodes to the canvas, let's reorganize a little and then create connections between them.
You can click and drag nodes to move them, or click on the little circles that appear on hover to create connections between them:
This is the basics of building a funnel - create nodes, connect them, save and you're ready to generate links.
Getting your first tracking link
Now that you have a basic funnel saved with a lander and offer connected, let's generate a tracking link.
In FunnelFlux, you can link to any node in the funnel - you decide where a specific user will start their journey. In most cases you'll want to link to the traffic node.
To do that, just click it. A sidebar will open with configuration options and the ability to generate a link.
In the link generation box you can choose:
A traffic source, which will determine a special parameter in the URL, as well as additional tracking info that is configured in the tracking fields section we brushed over earlier
An optional entrance cost. This will add a
c=some_valueparameter to your URL, declaring the cost of an incoming visitor. Usually this would come from your traffic source config, it would be rare to manually put something here.The domain to use - you can select from any domains in your account
Note that FunnelFlux works a little differently to most trackers in the performance marketing space.
You do NOT need to save this link or create different links/campaigns for every traffic source, country or campaign you are running on a traffic source.
A funnel describes the journey you want users to take.
You can send traffic from any number of sources, campaigns, countries etc. to this funnel. As long as you want them to go through the same page-to-page journey, its fine.
Rather, we use the URL to pass the ID of the traffic source along with useful information that source can pass, so the URLs are dynamic.
No more saving 100 campaigns for all those micro-splittings at your traffic source -- just pass all such variations as a URL parameter in the traffic source config.
If you ever need to customise the journey for specific campaigns later, you can add condition nodes to the funnel to add routing logic, or just clone the funnel and launch new campaigns with their own funnel. Initially, keep it simple.
Testing the link
With the link above in hand, open a new incognito window in your browser.
For ALL link testing, we recommend opening a new private window. Make sure to close all of them to exit the privacy sandbox between testing -- if you have existing private windows open, they actually share cookies and will make it hard to isolate your tests.
With a new window open, paste the link above.
You should see it redirect to the landing page we made in the funnel. If it's the test page, it will have our javascript on it (and some dynamic wizardry to make everything load).
After a few seconds you'll see the URL in the address bar update, which shows our JS finished doing it's magic.
Now, you can click the action 1 link to see what happens. It should redirect through to the test offer. Magic!
But what happens if you go back then click action 2? You should find it gives an error about connections -- this is exactly as expected.
If we want action 2 to do something, we need to define that in the funnel design.
Dealing with action (clickthrough) links
Now that you have generated a tracking link, hopefully you have tested it and you get redirected to the lander.
But how do you make the user get from the lander to the next page, the offer?
Notice in your funnel there is a connection between them labelled "action 1".
We use actions to link from page to page, creating clicks that give you your CTR metrics.
So, you will want to modify your lander so that the buttons/links on the page point the user to this "action 1" connector.
Our action links are universal, you can grab them in a few places, including in the funnel builder by right clicking on the connection:
Here, we just have action 1. Right click it and choose modify action. Now, select action 2 from the list as well and click OK.
Then, go ahead and save your funnel.
Now you can go back to your incognito window to re-test action 2, or get a tracking link from the traffic node again to restart your test.
We'll cover this in more depth in the next article here.