

Ready to use your own landing pages?
Here we'll cover adding them to FunnelFlux, using them in your funnels, tracking best practices and how to trigger events based on clickthroughs as well.
If you are unsure about how to host landing pages or what system to use, see our guides on this here.
We have a few suggestions in our partner marketplace and have guides on how to set up your own cheap landing page server.
Adding landers
Adding landing pages in FunnelFlux is simple.
Go to the Assets > Landers page and click Create New. You can also do this from the universal create button in the top left of our navigation:
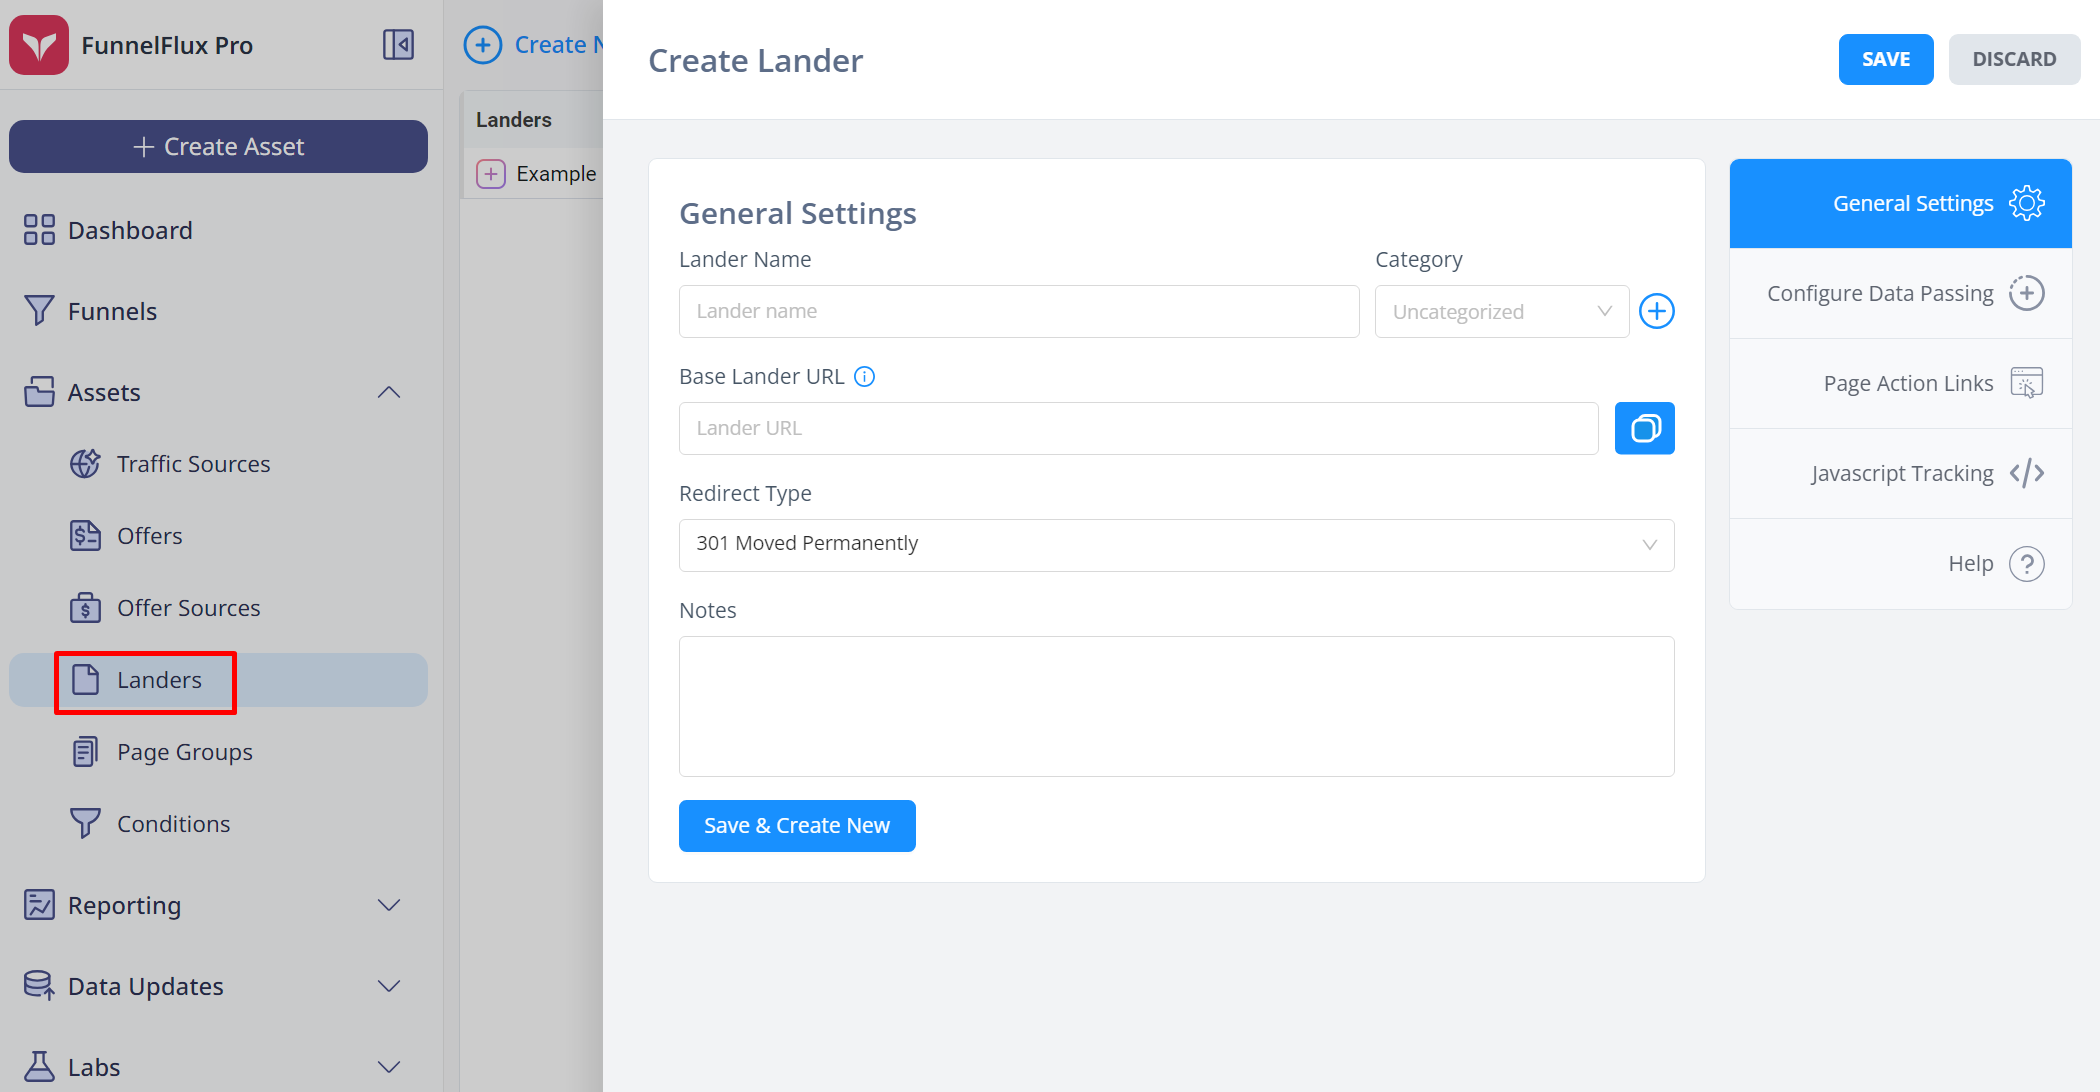
In most cases, you will simply put the lander URL here and don't need to configure anything under the other sections.
You do not need to pass data to your lander for tracking to work -- you would only pass data in the data passing section if you have some scripts on the page that need it (e.g. calling out user country in page text).
For redirect type, this should be 301 by default and we recommend always using this.
Do not use the "ultimate meta refresh" mode for your own pages, as it's goal is to mask referrer. It will slow things down, and there's no sense in trying to mask referrer from your own page/tracker, which is information it already knows anyway.
Once you have added landers, you can use them directly in your funnels.
Using landers in your funnels
Within the funnel builder you can access all assets you have added to your account.
Simply open the node palette > click landers > you can see a list of assets and can type to filter:
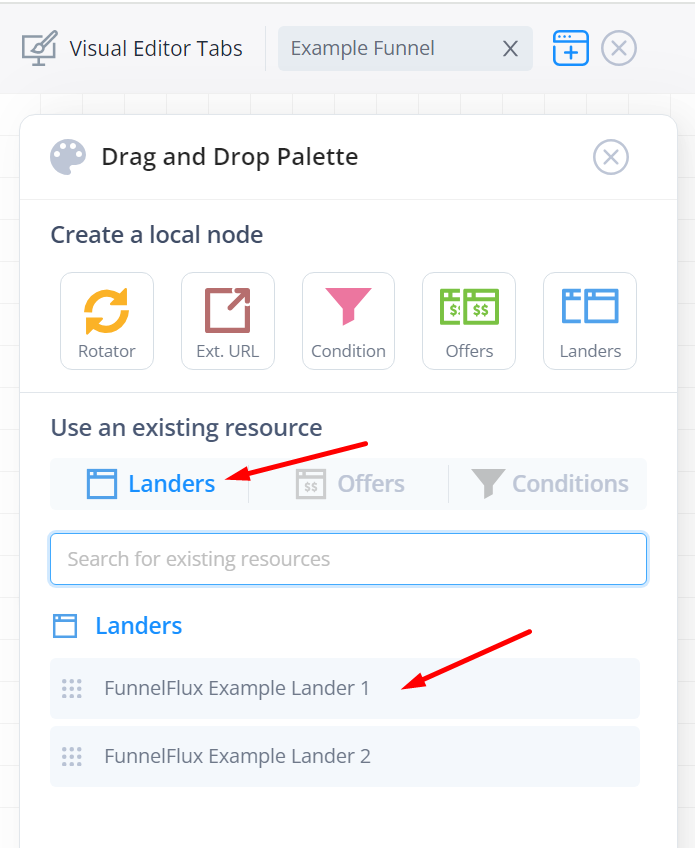
You can drag and drop these pages onto the canvas to create a node.
If you want to split-test multiple pages, there are two options here:
- Drag and drop multiple pages onto the canvas, creating multiple nodes, then use a rotator
- Create a single node and add multiple pages inside it
When you create lander/offers in the funnel builder, they are actually "groups" with their own internal rotators.
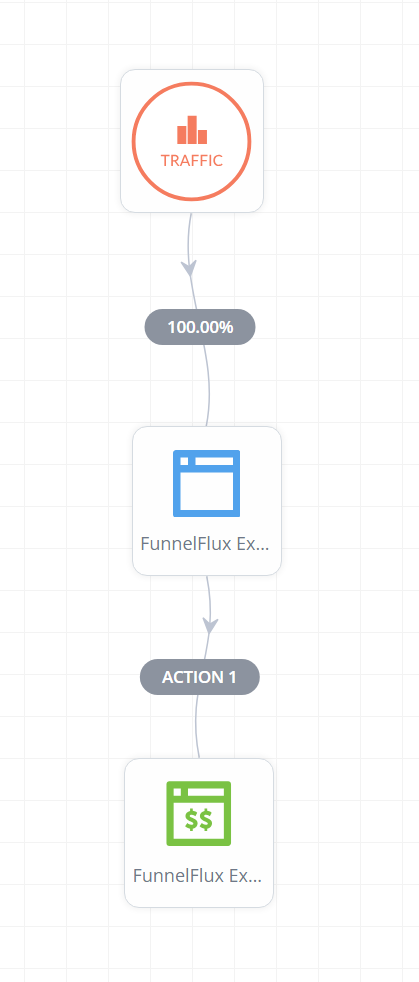
In option 1, we can split-traffic to multiple pages like so:

You may noticed from this that the traffic node is actually a rotator... yep!
With the second option, we could do this:
Upon clicking the lander node, we can then add multiple pages inside of it and set rotation there, like so:
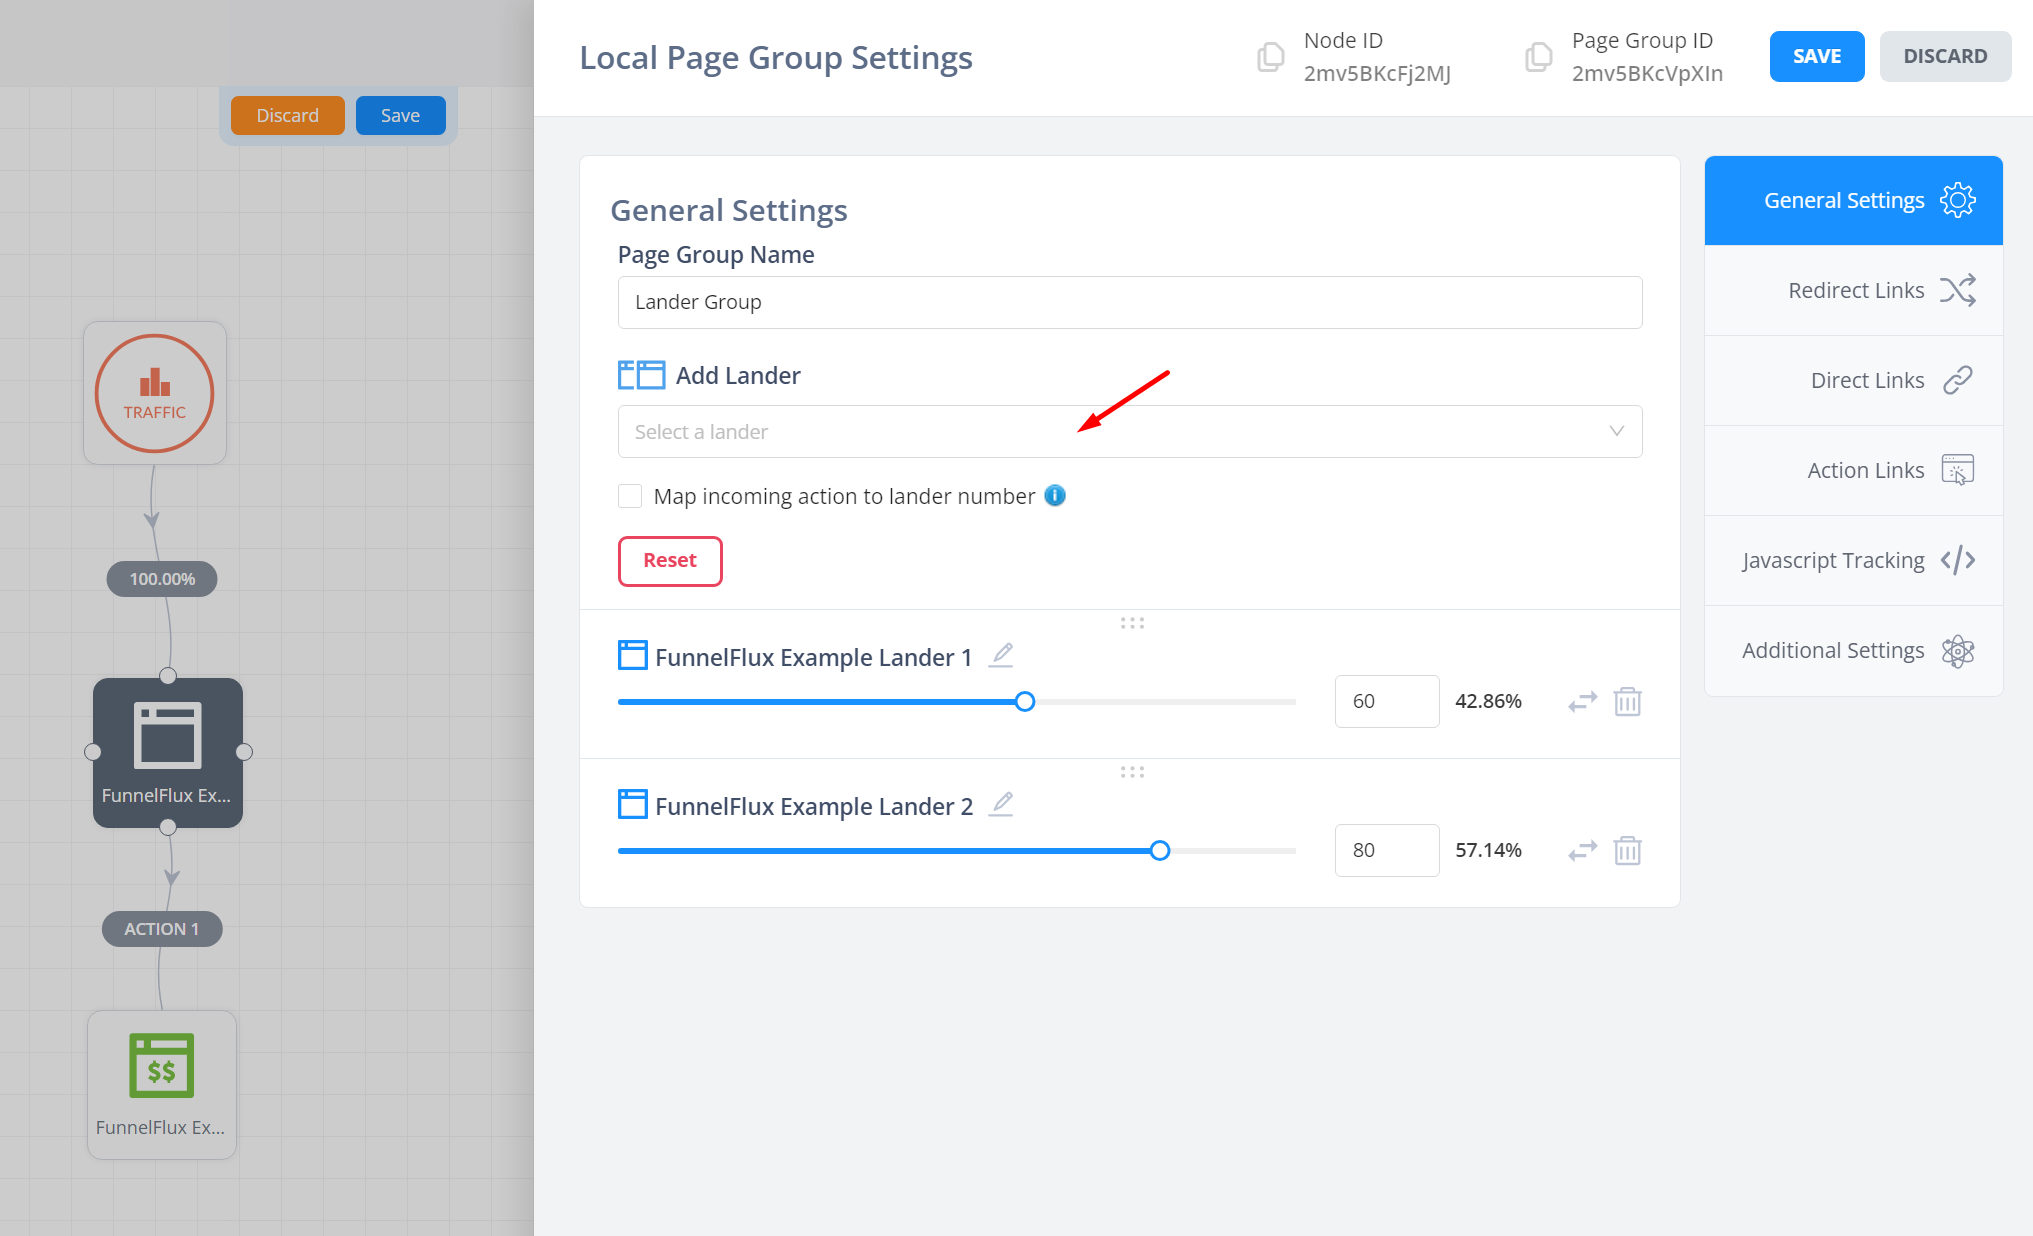
Which approach you use is up to you. Most people prefer the second as they can more easily add and remove pages from the rotation.
If you like to use heatmaps, the first approach is better, and it would also give you more control if you want unique lander > offer steps (i.e. where lander A goes down a different set of steps to lander B).
Lander tracking and clickthroughs
Firstly, you should always place our universal JS snippet on your landers.
It is required for direct linking (where you don't use redirects, as required by some traffic sources), and it enhances tracking in general so should always be added.
If you don't add it then encounter basic, common tracking issues, we did warn you -- add it.
You can find this in a few places:
- When editing a lander or offer, there's a Javascript Tracking tab
- In the Settings > Tracking Codes section as below
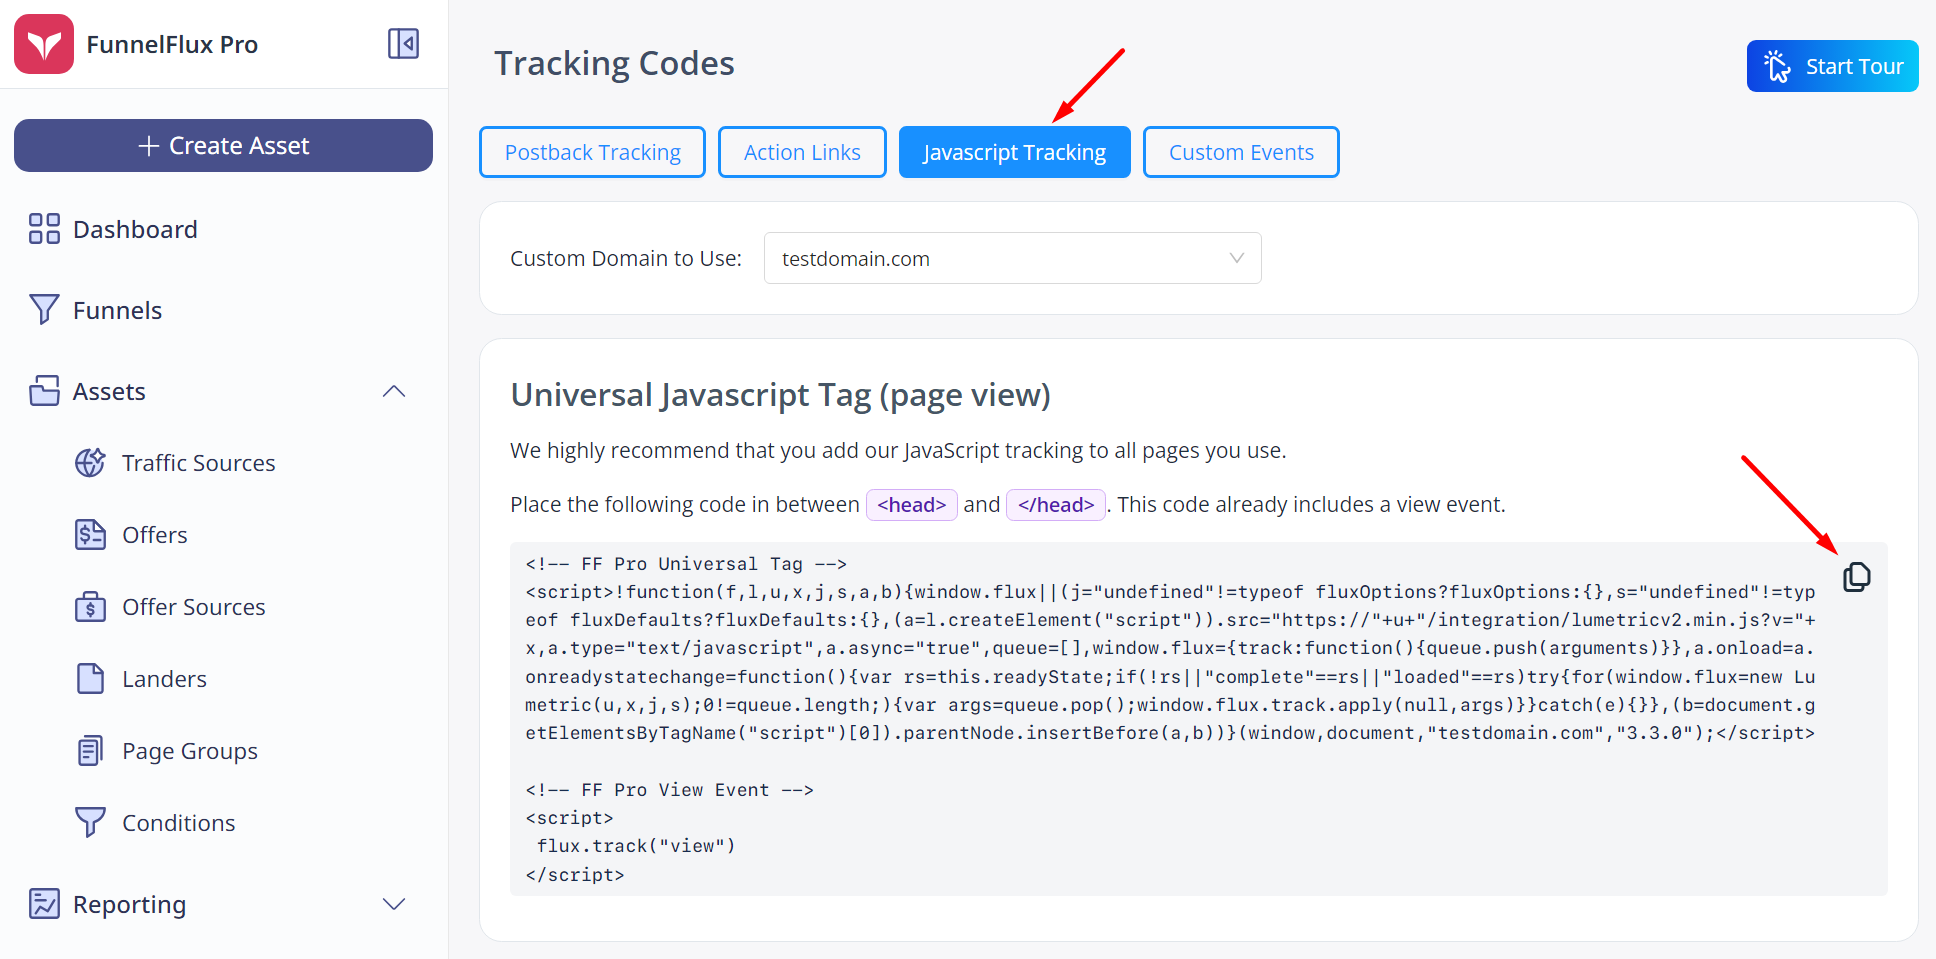
Now, for clickthroughs, you will need to use "action links"
These are universal and will be made more robust by our JS.
You can see action links in the picture above as well, and can get them from the funnel builder by right clicking the action > get action link.
The link will look like this:
https://your-custom-domain.com/action/1
Use these links for your clickthrough/CTA buttons on your pages. They just tell the tracker "do action 1" and the tracker will decide where that should go. There is no predetermination of desitnation in FunnelFlux.
You may have noticed the "Add Default Redirect Parameters" toggle as well.
This adds some extras to the link that are used as a fallback if there is no tracking context available. We recommend using this if a form submit is redirecting to the action link, as it's more common for tracking information to get lost in the middle.
There's no harm having these in your links in general, but don't waste your time grabbing these for every funnel you make as they won't be used 99.9% of the time. If you have organic traffic, it's better to master the art of Javascript tracking (you can see our article on organic traffic here).
Using direct linking
Many of you may be using sources like Meta, where people often like to avoid redirects, or Google/Microsoft ads where redirects are not allowed.
In these cases you need to use direct links that send a user to a page directly, bypassing the tracker. In this situation, our Javascript is the first point of contact with the user and it starts the tracking + captures all URL information.
Direct links can only be generated from a page node.
To get them, click a page node, then go to the direct links tab:
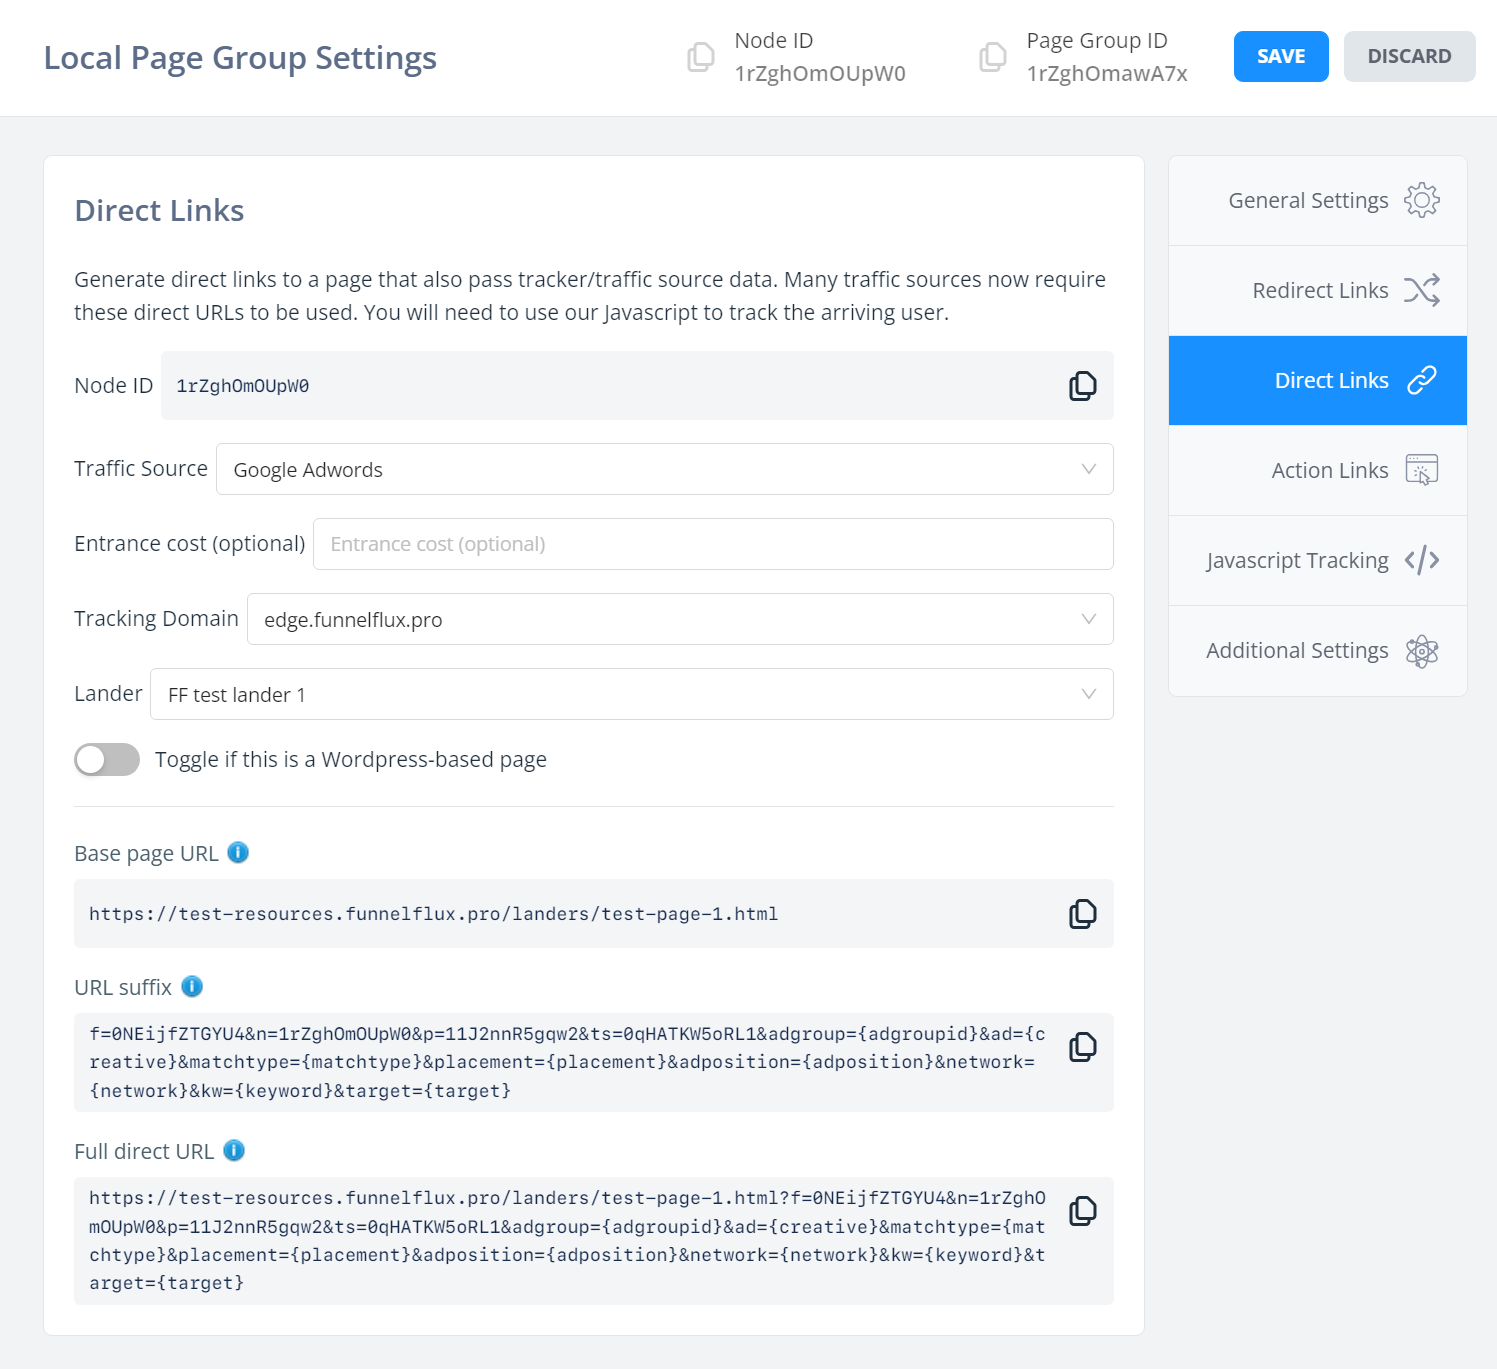
This section looks a bit more complex than redirect links but don't fret -- it's actually quite simple.
When you get a direct link, you'll be sending people to the page directly (the base page URL), with additional URL parameters add (URL suffix).
This suffix of information tells our JS what funnel it's for, the traffic source, node, etc. as well as URL parameters for traffic source data.
We split it into three sections here because many traffic sources that need direct links do the same. For example, Google Ads expects a "final website URL" and a "final URL suffix". You can directly copy/paste those from our UI here.
Ultimately, the user is sent to the full direct URL, and this is the URL you should copy yourself for testing.
If your page is hosted on Wordpress make sure to hit the toggle above, which removes the "p" parameter from our links. That causes a conflict as Wordpress uses this for post ID and breaks (giving a 404) if we set it to some value.
Note when using direct links you will not get split-testing between your pages, as the tracker does not exist in the middle to do the rotation of different destination pages.
Making actions trigger custom events
Lastly, let's consider custom events.
A good example is a lander where you have an opt-in page, and you may want to track the opt-ins as "lead" events in FunnelFlux.
You may also want to send a similar event to the traffic source when this happens. Imagine this funnel below:
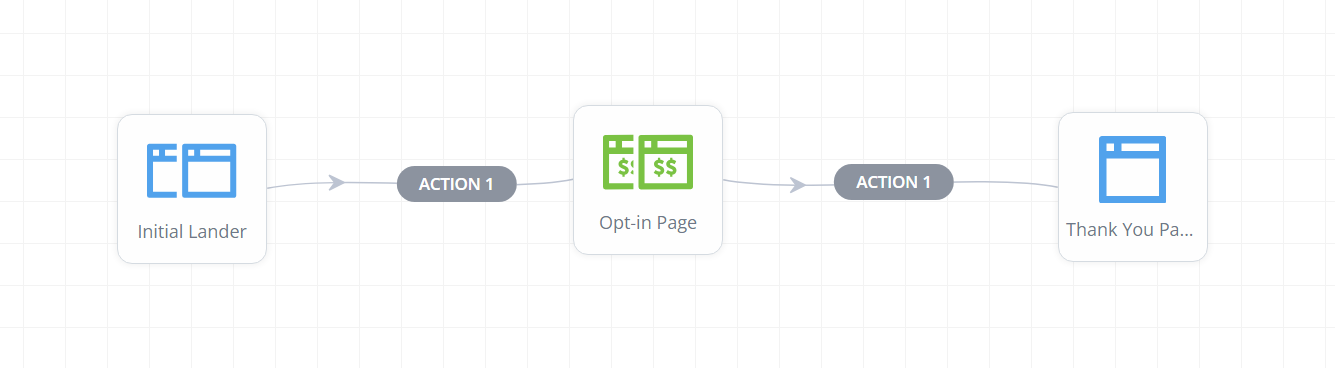
The user arrives at the first lander, clicks through to an opt-in page that you have as an offer, then submits and is redirected to action 1, taking them to a thank you page.
Now, you can right click the action after the offer and modify it:

Here I am making that clickthrough also trigger custom event 1 (which I have given a name of lead in the System Settings > Custom Event Aliases area).
I can give it a revenue value if I wanted, and if my traffic source settings have something set for the custom event 1 trigger, it will send that along as an event to the traffic source.
You can use this to send your events fully server-side instead of requiring JS code on your pages.
That's all for landers for now, we'll move on to offer sources next. You can also see our later technical setup studies for end-to-end guidance on setting up test campaigns, which will help tie all of this together.